Quick Guide to Code First Migrations
Blagoja Stojanovski is a .NET Team Lead at Melon. While working on a software development project, he followed the best practices on Code First Migrations. Now, he shares his experience.
Code First is quite interesting and easy to use, but it is missing a proper way to handle database schema changes. When you change something in EF Code First model, usually you have to re-create the whole database, meaning that all your data gets lost. You could also create update scripts but which is very time consuming.
Code First Migrations solves that problem. Easy to activate, it works very nicely with database schema changes when working with EF Code First.
Below is an example on how Migrations work.
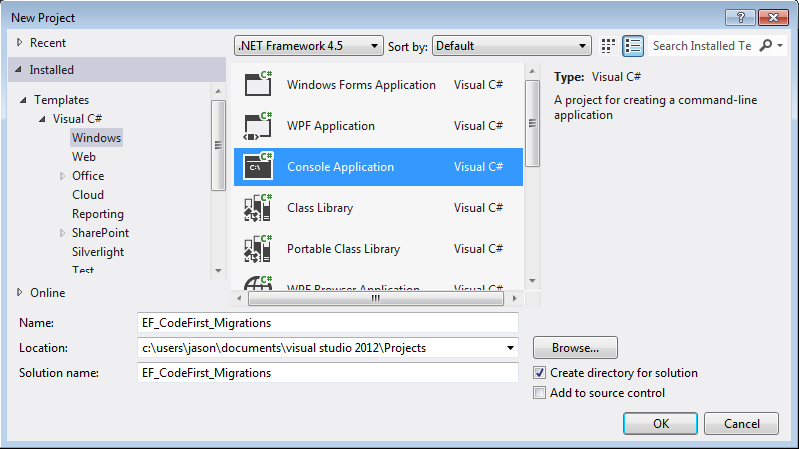
• Create a new project (console project or any other type of project).
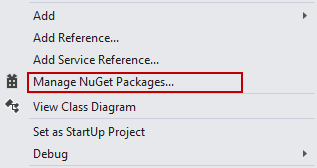
• Right click on the project in the Solution Explorer and select to manage the NuGet packages for it.
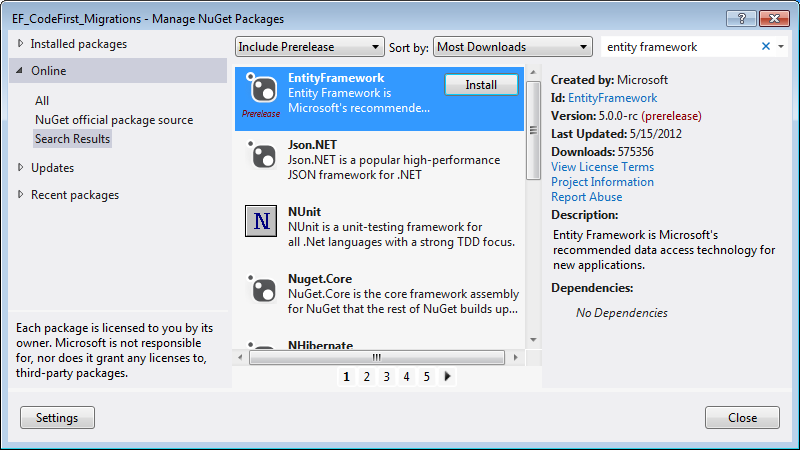
• In the Nuget packages window select Entity framework version 5.0.
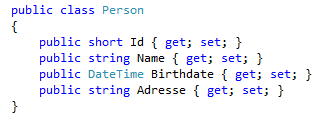
• Create a custom entity class called Person.
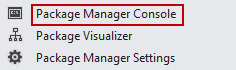
• Open the Package Manager Console from the Tools menu within Visual Studio 2013 and activate the EF Code First Migration features from there.
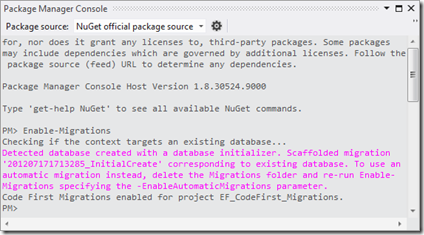
Activate the manual EF Migration features by entering the command “Enable-Migrations”.
If you have decided to keep your entities in another project (not the console project) then make sure you have selected the correct project from the drop-down of the NuGet console.
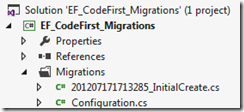
• This adds a new folder Migrations and also the auto-generated classes Configuration.cs and [SOMEDATE]_InitialCreate.cs to your project.
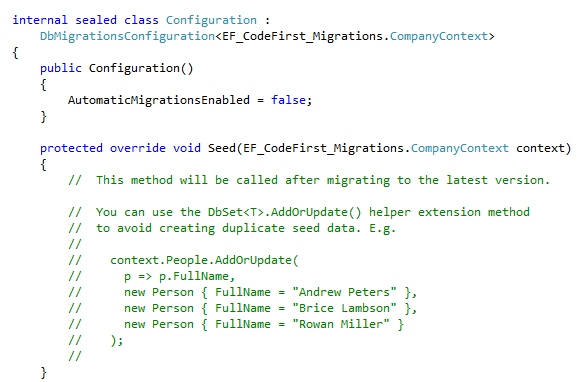
• The Configuration.cs class allows you to configure the EF Code First Migrations options and seed data after migration. You can use the seed data to populate your database with initial data for testing or have some pre-populated tables like Countries or Settings tables.
• Automatically generated class contains all the code necessary to create the database. The method Up is executed when you create the database, while the method Down, when you drop it.
From here you may start to implement you own code in C# for handling EF Code First and database schema changes.
Migrations also maintains a table in your database called _MigrationHistory. This table is used when you enable automatic Migrations. All the classes that are automatically generated in your Migrations folder are also stored in this table so that the framework keeps track of what is updated on the database without executing all the migration classes every time.
Every time you make a change to your entities you need to run these commands to update your database:
Add-Migration [some descriptive name]
This command will create a new migration class containing Up and Down methods with the changes that will be reflected in your database.
Once the class is generated you need to run the command:
Update-Database –Verbose
This will execute the Up method of the generated class and make the changes to your DB. Alternatively you can run the command
Update-Database –V –Script
This will generate an SQL update script which you can run manually.
Verbose gives you the option to run the update in verbose mode which shows more details about what has been executed on the database.
The great advantage of Code First Migrations is the migration of the data to the new table as part of the process of the database update. Writing simple C# code in your Configurations.cs file in the Seed method is enough to do that, there is no need of SQL update scripts or any other tools. The other benefit is automated generation of schema update scripts, it acts as a process that just generates scripts against several versions of the database schema and figures out how to migrate from one to other automatically. Migrations doesn't have any overhead or affect performance of the application during the running.